
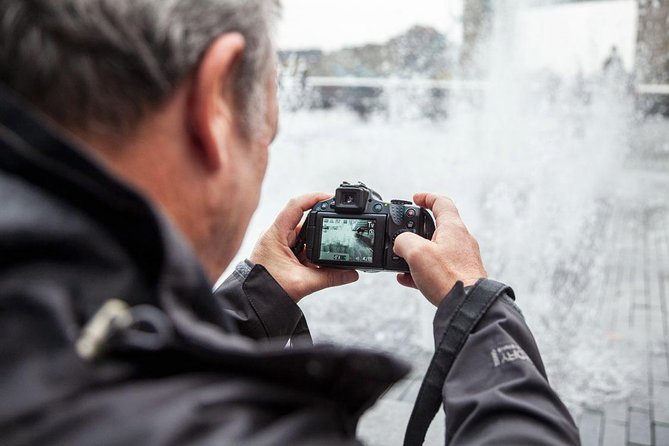
REVIEW · WORKSHOPS
Beginners Photography Course – Small Group Workshop
Stuck on Auto mode? This 4-hour small-group photo course in London turns camera settings into practical skills you can use right away. I love the max 6 people setup, and I also love that the City Hall lesson is built around your exact camera, not a generic demo. One consideration: you need to bring your own fully charged digital camera, plus memory cards.
The standout is how quickly you move from confusion to control. You work through core settings like ISO, shutter speed, and aperture with short on-location assignments, then you get guidance on how to apply them to real subjects around London. If you have a DSLR or a compact with manual controls, the teaching approach aims to make those buttons and menus finally make sense.
It’s priced at $336.07 per person for about four hours, and the value comes from the coaching intensity. This is also a walking session, so you’ll want comfortable shoes, and food and drinks are not included.
In This Review
- Key things that make this beginner course worth your time
- Why a 4-hour beginners workshop beats random YouTube watching
- Meeting Point and pacing: what your half-day schedule feels like
- City Hall: the core lesson where ISO, aperture, and shutter speed stop being scary
- How Tower Bridge builds real composition skills, not just settings
- Tower of London: using lens choices and shutter speed with purpose
- The small-group setup: why max six people changes everything
- What you’ll learn about your camera (the practical version)
- Photo assignments: how short practice turns into travel photos
- Price and what you get for $336.07
- What to bring so you can get the most out of it
- Who this workshop is best for
- Should you book this beginners photography course?
Key things that make this beginner course worth your time
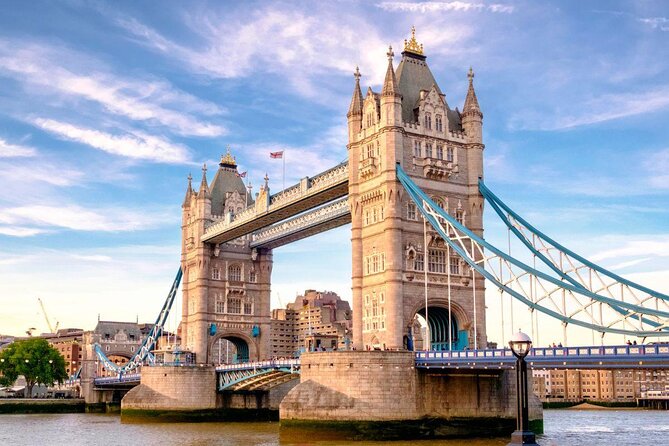
- Small group size (maximum six) for real attention, not a slideshow class
- Instruction geared to your specific camera model, so you learn the right settings in the right place
- Hands-on practice at City Hall, where you work through ISO, shutter speed, and aperture with short assignments
- Tower Bridge shooting lesson focused on composition, depth of field, light, and focusing techniques
- Tower of London session that trains you on lens choices, shutter speed, framing, and using light effectively
- Free admission tickets for the included stops, so your money goes toward instruction and practice
Cameras out: further shoots we tagged along on
- Professional Photoshoot in London Photographer★ 5.0 · 102 reviews
- Private landmarks photoshoot for families and couples★ 5.0 · 92 reviews
- Professional Private Photoshoot in London★ 5.0 · 63 reviews
- 30 Major London Attractions Walking Tour With Photos★ 4.5 · 51 reviews
Why a 4-hour beginners workshop beats random YouTube watching
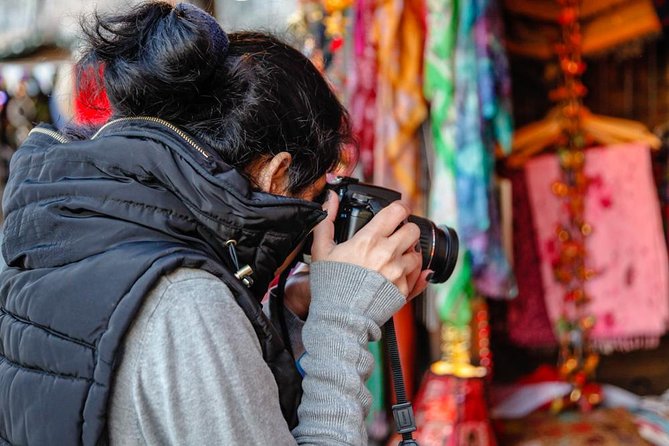
London is full of photo temptations. The problem is that many beginners get stuck at the same place, Auto mode and Scene modes, because they do not know what each control actually does. This course is designed to fix that fast.
The format matters. You start with 2 hours at City Hall for the fundamentals, then you apply those basics on the spot at Tower Bridge and the Tower of London. That sequence is what makes the learning stick.
You also get a tutor who knows lots of cameras, which is key if your model uses different menu names or buttons than your friend’s camera. The lesson is not aimed at one specific brand. It’s aimed at your camera.
Meeting Point and pacing: what your half-day schedule feels like
The workshop starts at London Bridge Station Approach Rd, London SE1 9SP, UK, and it ends back at the meeting point. The total time is listed as about 4 hours, so you should plan for a short walking day with frequent pauses for teaching and shooting.
The stop times are short and purposeful. City Hall takes the bulk of the session at about 2 hours, then Tower Bridge and Tower of London each get about 30 minutes. That timing works well for beginners, because you learn, you try, you get corrected, then you move on.
You’ll want your kit ready before you arrive. Bring a camera that you are comfortable carrying, make sure the battery is fully charged, and bring spare batteries if you have them. Also bring your memory cards, since you’ll be practicing on location instead of just listening.
City Hall: the core lesson where ISO, aperture, and shutter speed stop being scary
City Hall is the heart of the course. The scenic More London and City Hall location is not just for nice views, it’s for teaching: it gives you real subjects and lighting options while you learn camera control.
Here’s what you can expect during the City Hall portion:
- You learn how to use your digital camera effectively by understanding its main functions and settings.
- The tutor works around your exact camera so you don’t waste time hunting for buttons that do not exist on your model.
- You get short assignments designed to practice the relationship between ISO, shutter speed, and aperture.
That last part is why this stop is so valuable. Beginners often memorize terms but never connect them to outcomes. On this course, you practice those settings while you’re looking at what you’re photographing. You start seeing how a change in shutter speed affects motion, how aperture affects background blur, and how ISO affects brightness and noise.
You also get subject approach guidance. That means you are not just turning dials. You learn how to think about what to shoot and how to frame it so you can turn technical settings into real images.
One practical bonus from the teaching style: if your camera is acting weird or you feel lost inside menus, the tutor can help you troubleshoot. For example, one participant described sorting out a problem that required a factory reset. The takeaway for you is simple: bring your camera problems, even if you think they are too small to mention.
How Tower Bridge builds real composition skills, not just settings
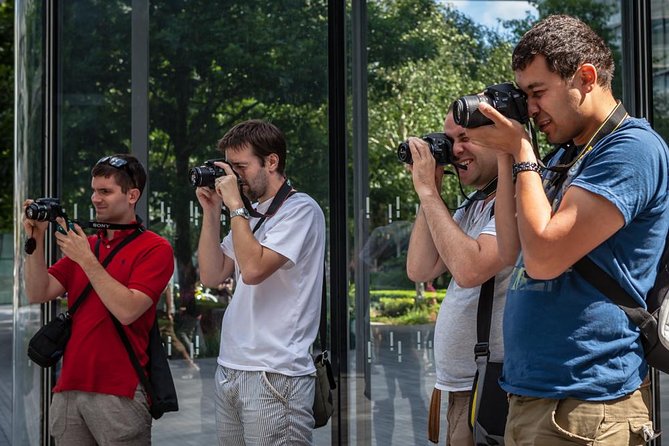
After City Hall, you head to Tower Bridge for about 30 minutes of guided shooting. The goal is to photograph the imposing bridge from across the river and then learn how to make that view look intentional.
This is where you start using your knowledge in a more “photographer” way. The course focuses on:
- Composition and framing (how to place the bridge in your shot)
- Depth of field (how much looks sharp, how much falls softly out of focus)
- How light affects your photo (not just brightness, but contrast and direction)
- Different focusing techniques (so your subject is sharp when it matters)
The bridge is a strong subject for beginners because it gives you clear lines and a dramatic silhouette. But it also forces you to make choices. Where do you stand? How do you crop? How do you focus? The tutor is there to help you pick approaches that fit what your camera can do.
One thing I like about this part is the time box. Thirty minutes is enough to try a few variations and get corrections without turning it into an endless walk. You leave Tower Bridge with a handful of images you actually understand, not a random burst of shots.

Tower of London: using lens choices and shutter speed with purpose
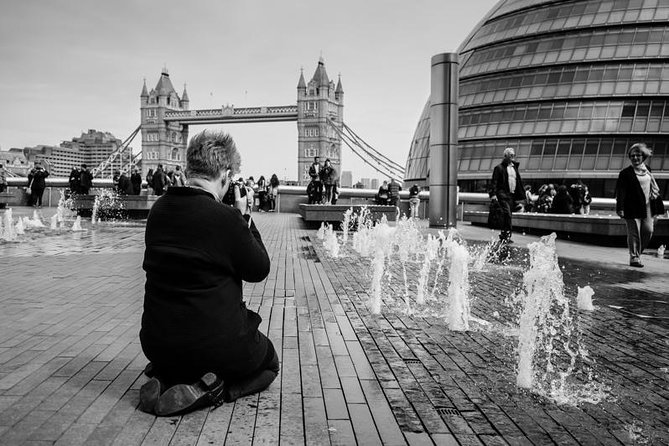
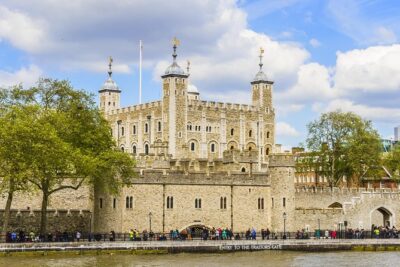
The last photo stop is the Tower of London area, again about 30 minutes, with you photographing from across the river. This segment shifts the emphasis slightly from bridge composition to a more classic landmark shooting style.
You learn about:
- Lens choices (what changes when you use different focal lengths)
- Shutter speed for control, especially around how the scene looks and how movement is handled
- Composition and framing, so the tower feels balanced in your frame
- How to use light effectively, which matters a lot for stone, sky, and reflections
This stop is useful if you already start to grasp ISO and aperture, but you still feel unsure about shutter speed and how it translates visually. The tower gives you structure, and structure makes it easier to see what your camera settings are doing.
You’ll also get professional tips for approaching different subjects. Even if you think landmarks are straightforward, there’s usually a difference between a flat photo and one with depth and intention. This is where you learn to push beyond “point and shoot” even on a short walk.
The small-group setup: why max six people changes everything
A group of six sounds small in marketing. In practice, it’s the difference between learning and waiting. With this class, the tutor has time for personal instruction, and it’s geared to your camera model.
In a larger group, you might get a quick correction once. Here, the course is described as always making time for personal one to one tuition for each attendee. That matters if:
- you have a complicated camera menu,
- you inherited a camera and feel intimidated by it,
- or you simply learn best when someone shows you the exact setting on your body.
The teaching style also needs to handle different camera types in the same group. One participant described the tutor staying on track with a mix of camera makes and models, without letting anyone feel lost. That is a big deal for beginners, because confusion multiplies fast when everyone is using different gear.
If you want to feel confident fast, this size is part of the value, not a footnote.
What you’ll learn about your camera (the practical version)
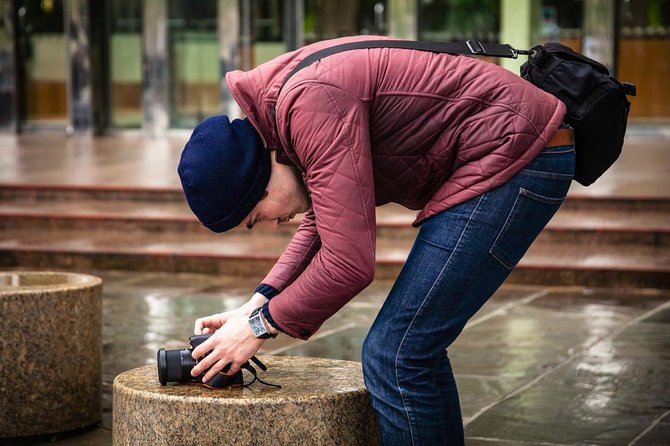
The course teaches the basics, but it does it in a way that connects to results. Instead of treating settings like trivia, you learn them as tools.
From the City Hall practice and the assignments, you should come away with clearer control of:
- ISO, including what happens when you raise it
- Shutter speed, including how it changes exposure and motion
- Aperture, including how it affects depth of field
- Focus approach, since focusing technique is taught during Tower Bridge
- White balance, since at least one participant highlighted learning and using it after the course
- Lens choice and how focal length affects your composition at Tower of London
You’ll also leave with a better relationship to your camera manual. One beginner noted that terms like ISO, aperture, and shutter speed were no longer mysteries, and that their manual might finally get read. That is a good sign, because the real long-term value is learning how to keep improving after the workshop ends.
Photo assignments: how short practice turns into travel photos
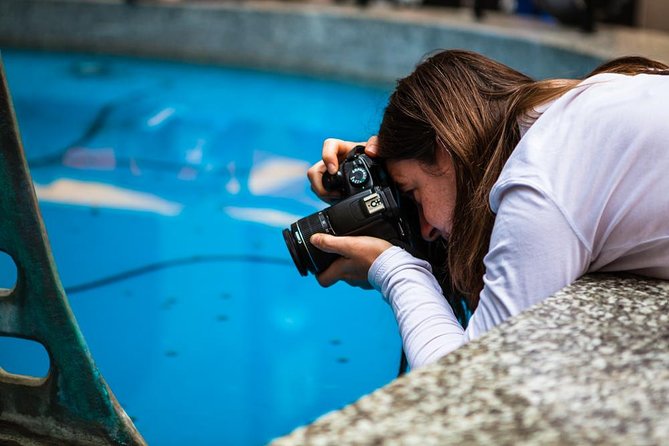
The course uses short assignments at City Hall. That design helps you avoid the common beginner trap: listening to advice but not changing your shooting habits.
Think of the assignments as “small experiments.” You change one setting, you see what it does, then you adjust. When you repeat that cycle in different lighting and subjects, you build instincts.
That’s also why the later stops matter. Tower Bridge and Tower of London aren’t separate activities. They are where you apply the lessons you just practiced. You’re not learning in a vacuum.
If you plan to travel after this course, this approach is especially useful. You will see scenes and think in settings, not just in locations. That’s how photos start improving week by week.
Price and what you get for $336.07
At $336.07 per person, this isn’t the cheapest way to learn photography in London. But it’s priced like a coaching workshop, not a casual walk.
Here’s the value equation that makes sense for beginners:
- Only up to six people, which increases the chance of hands-on corrections.
- You get expert tuition geared to your exact camera. That reduces wasted time.
- You spend real time practicing, first at City Hall (about two hours), then applying skills at two more landmark locations.
- Admission tickets for the included stops are listed as free, so more of your spend goes to instruction and photo time.
Not included is also part of the math. Food and drinks are not included, so budget for your own snacks or plan to eat before or after. That’s easy to handle, but it’s worth noting so you don’t get surprised during the day.
What to bring so you can get the most out of it
Bring your own camera, because the lesson is geared to what you own. That includes:
- A fully charged battery (and a spare if you have one)
- Memory cards
- Your camera strap, if you use one, so you don’t spend energy worrying about gear safety
- Any basic accessories you already have, as long as you can carry them comfortably
If you’re worried you brought the wrong gear, relax. The tutor knows many camera models, and the instruction is aligned to your specific device. Still, the fastest learning happens when you can instantly test what you just heard.
Who this workshop is best for
This course is a strong fit if you:
- Are stuck on Auto and Scene modes and want to understand ISO, shutter speed, and aperture
- Want a guided path that makes your camera menu less intimidating
- Have an inherited camera or a camera you bought and never really learned
- Appreciate feedback while you shoot, not just after you go home
It also works if you feel like you’re not the only beginner. One participant described being the most beginner in their group, while others had more experience, and everyone still benefited. That suggests the teaching stays practical and doesn’t talk down to anyone.
Should you book this beginners photography course?
If you want clear, actionable guidance and you like the idea of practicing immediately in real London scenes, I’d book it. The biggest reasons are the small group limit and the fact that the teaching is geared to your camera model, not a one-size-fits-all lecture.
If you show up without a camera, or you’re hoping for a passive walk with sightseeing, this probably won’t meet your expectations. Also, plan for no lunch or drinks, so bring water or make your meal plan before the course.
For beginners who want to stop guessing and start controlling their shots, this is a well-shaped half-day that turns camera settings into results you can repeat.
More Photo Walks And Shoots
Fresh off the notebook in London
- Private Rock ‘n’ Roll Music Tour of Central London
★ 5.0 · 7 reviews - London Walking Tour: Camden Town Photography Walkabout
★ 5.0 · 7 reviews - Private Transfer from London accommodation to Cruise terminal
★ 5.0 · 7 reviews - Amazing Nightlife in London East Tour
★ 4.5 · 7 reviews - The British Museum: a highlights tour with a TV historian
★ 5.0 · 7 reviews - Heathrow Airport to Cambridge private taxi transfers
★ 5.0 · 7 reviews
Workshops, compared.
 ★ 5.0Surf LessonFrom $62349 reviews
 ★ 5.0London Traditional English Scone Making and Tea WorkshopFrom $48271 reviews
 ★ 5.0Beginner Surf Lesson in Newquay, CornwallFrom $62215 reviews
 ★ 5.0Sea Kayak Lesson & Tour in NewquayFrom $83189 reviews
 ★ 5.0Private Surfing LessonFrom $138173 reviews
 ★ 4.5Chocolate Bar Making Workshop – York Cocoa WorksFrom $34170 reviews
 ★ 5.0Silver Ring Workshop in Kent, EnglandFrom $131102 reviews
 ★ 5.0Taster Surfing Lesson in BudeFrom $62101 reviews
Browse the lists this tour appears in