
REVIEW · PHOTOGRAPHY SESSIONS
Discover Photography
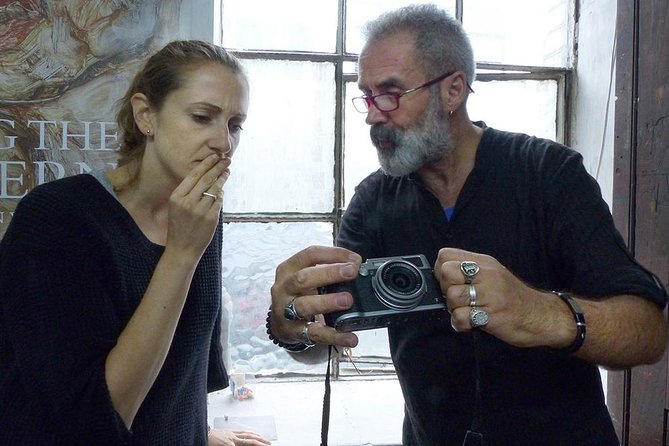
Your camera is smarter than you think. In this Discover Photography class, you learn manual controls like aperture and shutter speed, in a small group (max 12) with an award-winning instructor at Westland Place Studios.
I love that the teaching is tied to results, not just theory, and you work on a practical exercise focused on how aperture and shutter speed change your pictures. In the sessions described with photographers such as Pierre and Vehbi Koca, the vibe is very hands-on, with plenty of time to ask questions and keep everyone moving forward.
One drawback to plan for: you’ll get the most out of it only if you have a DSLR or a compact camera with manual settings, and it’s strictly 18+.
In This Review
- Key things that make this course worth your time
- Why a 2.5-hour beginner class makes your photos look better fast
- Westland Place Studios: the smart start point and what to bring
- Learning manual settings without getting stuck in camera-speak
- Aperture and shutter speed: the settings that change the story of your picture
- Lenses, focal length, and composition that don’t fight your travel style
- White balance and color temperature: getting the mood right in real light
- Depth of field, depth of meaning
- What the practical exercise feels like in real life
- Price and value: why $95.80 can be a good deal
- Who should book this course, and who might not
- Should you book Discover Photography in London?
- FAQ
- How long is the Discover Photography course?
- How many people are in the group?
- Where does the course start?
- What camera do I need to get the most from the course?
- What will I learn during the session?
- Will we cover both automatic and manual shooting?
- What is the minimum age?
- Do I need to bring anything for the ticket?
- Is the experience refundable if I cancel?
Key things that make this course worth your time
- Max 12 people means you’re not lost in a sea of cameras and confusion.
- Manual plus semi-automatic modes get explained clearly, so switching settings becomes second nature.
- Aperture and shutter speed, in plain language with a practical exercise to see the effects immediately.
- Lenses, focal length, angle of view, and perspective so your photos look intentional, not accidental.
- Color temperature and white balance so you can control the look of your photos in mixed light.
- Depth of field and composition so you can guide attention in your frame.
Cameras out: further shoots we tagged along on
- Professional Photoshoot in London Photographer★ 5.0 · 102 reviews
- Private landmarks photoshoot for families and couples★ 5.0 · 92 reviews
- Professional Private Photoshoot in London★ 5.0 · 63 reviews
- 30 Major London Attractions Walking Tour With Photos★ 4.5 · 51 reviews
Why a 2.5-hour beginner class makes your photos look better fast
Most travel camera problems are not about the camera. They’re about the settings. This course targets the stuff that usually turns into guesswork: exposure, depth of field, and how to control motion and light.
In about 2 hours 30 minutes, you’ll learn how aperture, shutter speed, and ISO connect to each other, then you’ll practice using that knowledge. The goal is simple: by the end, you should be able to operate your camera confidently in manual (and understand the semi-automatic options too).
Westland Place Studios: the smart start point and what to bring
The class meets at Westland Place Studios3, 11 Westland Pl, London N1 7LP. It’s set up as a workshop, and it runs back to the meeting point at the end, so you’re not juggling a long logistics trail across London.
Because this is a small-group course (12 max), arriving with your camera ready matters. If you know your camera model, bring the manual settings details you see in your menu, even if you only understand parts of it right now.
Here’s the practical gear rule: the course works best with a DSLR or compact digital camera that has manual settings. If you show up with a camera that only does full auto, you might still learn the concepts, but you won’t get the hands-on benefit the course is built around.
Learning manual settings without getting stuck in camera-speak
The heart of the class is learning how to move from automatic shooting to manual control. That sounds intimidating, but the structure is built for beginners: you start with the fundamentals of setting correct exposure, then you connect those fundamentals to creative results.
You’ll also learn how to switch between automatic and manual settings. That’s important because your camera life on a trip is usually a mix of quick moments and slower, deliberate shots. You don’t need to live in manual mode. You need to understand what manual is doing when you choose it.
The exposure lesson focuses on the relationship between:
- Aperture
- Shutter speed
- ISO
You’ll be taught how to set exposure correctly, then you’ll connect those settings to what you actually want in the photo. Is it sharp? Is there motion blur? Do you want background blur? Manual becomes less of a puzzle when you can tie it to an outcome.
Aperture and shutter speed: the settings that change the story of your picture
If you’ve ever wondered why one photo has a crisp subject and another has a mushy one, aperture is usually the answer. This course specifically covers how aperture and shutter speed affect your image.
You’ll learn to think of aperture as a depth-of-field tool. Bigger changes in aperture settings can mean more or less background blur, and that changes how people and objects stand out in travel scenes. Depth of field is a core takeaway here.
Shutter speed is the motion control. It changes how movement looks, from freeze-frame sharpness to a smoother blur effect. That’s especially useful when you’re shooting people walking, buses passing, or any scene with movement.
And because you’re not just watching slides, you get a practical exercise that explores the effects of aperture and shutter speed. That matters. Once you see the cause and effect together, you stop treating these settings like magic numbers and start using them like creative controls.
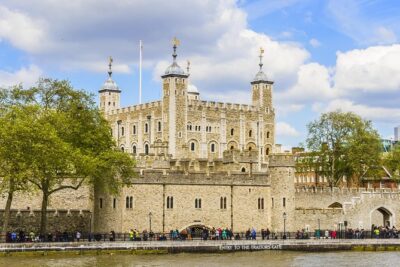

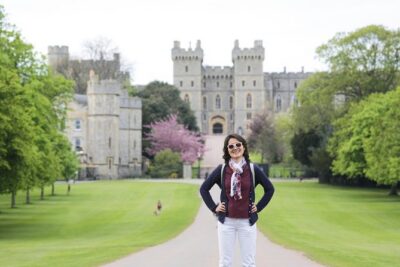
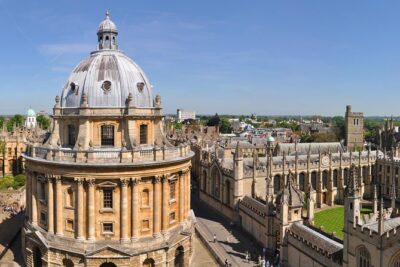
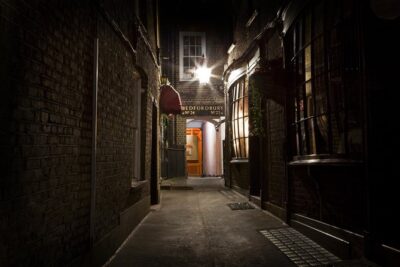
Lenses, focal length, and composition that don’t fight your travel style
Many photography courses teach settings but ignore the lens and composition part. This one includes both, which is huge for travel.
You’ll learn about:
- Lenses
- Focal length, angle of view, and perspective
- Composition
Those terms sound technical, but they translate into decisions you already make when you take photos. Focal length affects how wide or tight your framing feels, and that changes perspective. Angle of view tells you how much of the scene you’re including, and perspective affects how the subject relates to the background.
Composition guidance helps you avoid the common travel trap: photographing a landmark but not actually composing a picture. Even with the same place, small framing choices change whether the viewer’s eye lands on your subject or wanders around.
The class also covers composition in a way that links back to camera controls. When you understand depth of field and perspective, you can use both to build cleaner images with a stronger focal point.
White balance and color temperature: getting the mood right in real light
London light can be tricky. Even if it looks fine to your eyes, your camera might render it differently. That’s where color temperature and white balance come in.
You’ll learn what white balance does and how color temperature relates to the look of your image. The practical value is that you start to recognize why some photos feel too cool, too warm, or just slightly off compared to what you remember.
This matters for travel photography because mixed lighting is common. You may face indoor light, daylight through windows, and outdoor shade in the same day. Knowing how to handle white balance gives you more consistent results, without turning every photo session into a guessing game.
Depth of field, depth of meaning
Depth of field is more than a technical feature. It changes what the viewer notices.
The course teaches depth of field as part of learning how aperture affects the image. You’ll be in a better spot to:
- keep your subject sharp
- soften distractions in the background
- make your framing feel intentional
On a trip, you’ll use depth of field constantly. It’s an easy way to separate a person from a busy street or to make an object feel like the main event. Even when you can’t control where the crowd stands, you can control how much attention the background steals.
What the practical exercise feels like in real life
The practical element is one of the most valuable parts of a beginner course. This one includes a hands-on exercise exploring the effects of aperture and shutter speed.
Here’s what that means for you in plain terms: you’ll try setting changes, take pictures, and see the results quickly. When you can compare frames made with different settings, your brain learns faster than from any explanation alone.
Also, small-group learning helps because you can get immediate correction. In the teaching styles described with instructors like Pierre and Vehbi Koca, the emphasis seems to be on helping you keep up and encouraging experimentation. That’s what you want. If you’re afraid of being wrong, you won’t experiment. If you experiment, you’ll learn.
At the end, you should have a set of mental shortcuts for future shots: what to change first when your image looks too dark, too blurry, or too lifeless.
Price and value: why $95.80 can be a good deal
At $95.80 per person for about 2 hours 30 minutes, the value depends on one thing: whether you’re ready to use what you learn.
This course isn’t expensive for a reason. You’re paying for structured instruction from an award-winning photographer, plus a small group size that keeps the instructor involved. That combination often costs more in other formats.
You’re also paying for a focused skill set that directly affects everyday travel photos. Most people don’t need a huge library of camera features. They need the few controls that change the entire look of their image: aperture, shutter speed, ISO, and the related concepts like white balance, lens perspective, and depth of field.
If you already have a DSLR or a manual-capable compact, this is a fast way to stop wasting time on auto settings and start shooting with intention. If you only want a casual camera chat with no settings practice, you might not get your money’s worth.
Who should book this course, and who might not
This is a strong match if:
- you’re a beginner who wants to understand manual settings
- you have a DSLR or compact camera with manual controls
- you want practical guidance and a small group setting
- you’re looking for more than random photo tips, you want the logic behind the settings
It might be less ideal if:
- you’re using only a smartphone and don’t have a camera with manual settings
- you want a tour of London sights with photography stops as the main event
- you expect a refundable, one-size-fits-all experience with no focus on camera operation
The course is built around you learning camera operation, so showing up ready to adjust settings is the best way to benefit.
Should you book Discover Photography in London?
Yes, if your goal is better photos and you’re willing to spend 2 hours 30 minutes learning the controls that matter. The small group size, instruction from an award-winning photographer, and the practical exercise on aperture and shutter speed make it feel like real progress instead of a passive lecture.
If you have a camera that supports manual settings, this is one of the quickest ways to upgrade your travel photography without buying new gear. If you do not, you might still learn concepts, but the course is clearly designed around DSLR or manual-capable compact cameras. Make sure your equipment can do what the class asks, and you’ll get a lot more out of the session.
FAQ
How long is the Discover Photography course?
The experience is about 2 hours 30 minutes.
How many people are in the group?
The course has a maximum of 12 travelers.
Where does the course start?
The meeting point is Westland Place Studios3, 11 Westland Pl, London N1 7LP, UK.
What camera do I need to get the most from the course?
You’ll need a DSLR camera or a compact digital camera with manual settings.
What will I learn during the session?
You’ll learn about lenses, composition, color temperature and white balance, operating in semi-automatic and manual modes, depth of field, and how aperture and shutter speed affect images. You’ll also cover focal length, angle of view, and perspective, plus a practical exercise.
Will we cover both automatic and manual shooting?
Yes. You’ll learn how to switch between automatic and manual settings and how to operate the camera in semi-automatic and manual modes.
What is the minimum age?
The minimum age is 18.
Do I need to bring anything for the ticket?
You’ll receive a mobile ticket.
Is the experience refundable if I cancel?
No. This experience is non-refundable and cannot be changed for any reason.
More Photo Walks And Shoots
Fresh off the notebook in London
- Witchcraft, Ancient Cults & MI15 Spy Secrets
★ 4.0 · 3 reviews - Arrival Transfer: London Train Stations to London Hotels
★ 5.0 · 3 reviews - Royal Afternoon Tea & Walk at Kensington Palace
★ 4.5 · 3 reviews - Bridgerton Tour in London
★ 5.0 · 3 reviews - Private Transfer from central London to Southampton Cruise Terminal
★ 5.0 · 3 reviews - Photographer, Professional Photo Shoot – London
★ 5.0 · 3 reviews
Photography Sessions, compared.
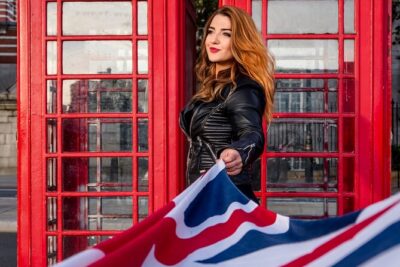 ★ 5.0Professional Photoshoot in London PhotographerFrom $305102 reviews
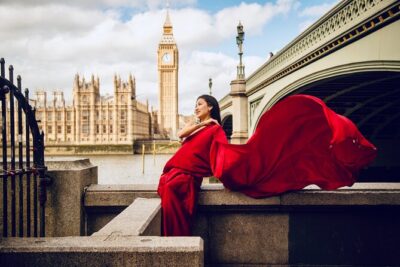 ★ 5.0Private landmarks photoshoot for families and couplesFrom $16692 reviews
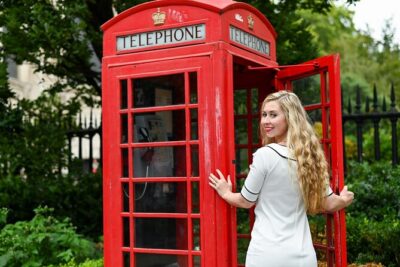 ★ 5.0Professional Private Photoshoot in LondonFrom $10963 reviews
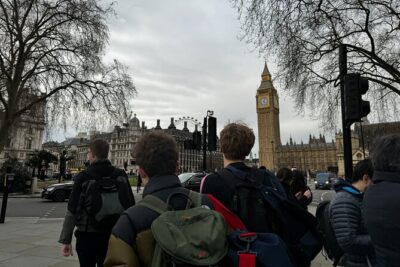 ★ 4.530 Major London Attractions Walking Tour With PhotosFrom $6751 reviews
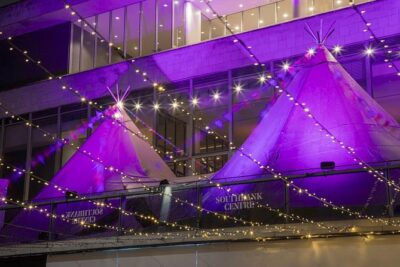 ★ 5.0Private Tour: Night Photography Tour in LondonFrom $33748 reviews
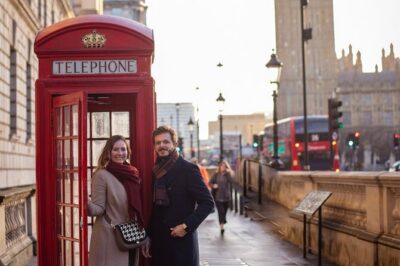 ★ 5.0Professional Private Couple PhotoshootFrom $15735 reviews
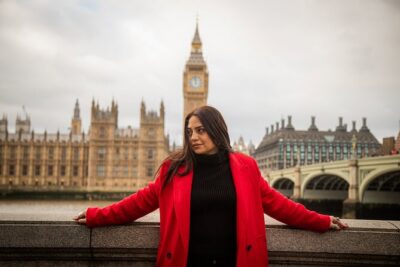 ★ 5.0London: Private Landmarks with a Professional PhotographerFrom $17930 reviews
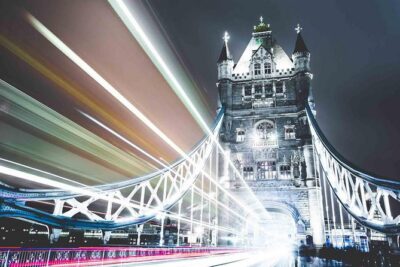 ★ 5.0Private Night Photography Tour in LondonFrom $16429 reviews
Browse the lists this tour appears in