
REVIEW · PHOTOGRAPHY SESSIONS
Ultimate introduction to photography in Central London
London gets a lot more photographic. This Central London intro workshop by Photography Workshops by Matthew Williams-Ellis turns famous landmarks into real practice, with hands-on lessons that run from bright daytime shots to night images over the Thames.
I especially like the small group size (max eight), because you get time to ask questions and actually work on your settings while you walk. I also like the way the course teaches both camera controls and the thought process behind photos, not just button pressing.
One possible drawback: it depends on good weather, and the route involves enough moving around that you’ll want a moderate fitness level.
In This Review
- Key highlights at a glance
- Meeting Matthew in Central London, and Why the Small Group Matters
- Your Camera as a Tool: How ISO, Aperture, and Shutter Work Together
- Stop 1, London Eye: Turning a Postcard View Into a Photo You Control
- Leake Street Arches: Graffiti Lighting and Finding Composition Under Pressure
- St. Paul’s Cathedral: Exposure, Focus, and Storytelling in One Frame
- South Bank Skate Park: Fast Motion and the Creative Power of Slow Shutters
- Sunset, Blue Hour, and Night Over the Thames: Finishing With Images That Feel Cinematic
- What Makes the Instruction Work: Camera Confidence and a Practical Note-Taking Style
- Price and Value: What $232.25 Buys You in Real Coaching Time
- Getting the Most Out of the Day: Simple Prep That Helps
- Who This Workshop Fits Best, and Who Might Want Another Option
- Should You Book This Central London Photography Intro?
- FAQ
- What is the duration of the Central London photography workshop?
- How big is the group?
- Where do you meet, and where does the tour end?
- Is the workshop offered in English?
- What camera skills does the workshop cover?
- Do you need good weather for this experience?
Key highlights at a glance
- Max 8 people keeps instruction personal and practical
- ISO, aperture, shutter speed, focus are taught as one connected system
- In-the-field practice at London Eye, Leake Street Arches, St. Paul’s, and South Bank
- Action plus slowing down at the skate park, then longer looks as night falls
- Sunset to blue hour/night over the Thames to finish with images you can be proud of
Cameras out: further shoots we tagged along on
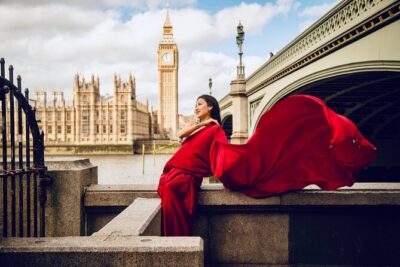
- Professional Photoshoot in London Photographer★ 5.0 · 102 reviews
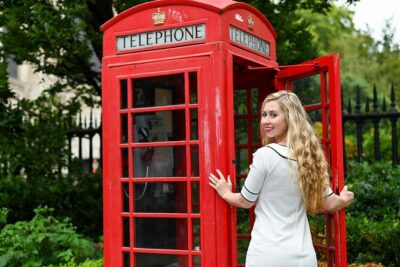
- Private landmarks photoshoot for families and couples★ 5.0 · 92 reviews
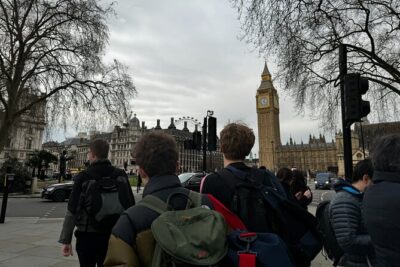
- Professional Private Photoshoot in London★ 5.0 · 63 reviews
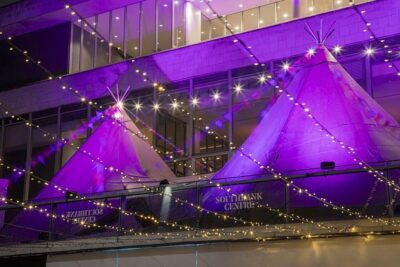
- 30 Major London Attractions Walking Tour With Photos★ 4.5 · 51 reviews
Meeting Matthew in Central London, and Why the Small Group Matters
This is a structured photo workshop set up like a guided photo walk, not a classroom lecture. You meet at Starbucks Coffee, Belvedere Rd, London SE1 7GQ, and the day runs for about 5 hours 30 minutes, ending back at the same meeting point. It’s offered in English, and you’ll receive a mobile ticket.
The big value here is the group size cap of eight. When you have that many people, you stop competing for attention. In practice, that means you can get help with what you personally are stuck on, like why your photo is too dark at the skate park, or how to stop motion blur when you’re trying to capture something moving.
Also, the course is friendly to different comfort levels. Even if you’ve never used manual before, you can still join and learn the basics, then build up from there. If you already know some camera settings, the workshop style still makes sense because you’ll be putting those settings to work in real scenes.
Your Camera as a Tool: How ISO, Aperture, and Shutter Work Together
The workshop’s core promise is simple: you’ll understand how to capture the photos in your mind’s eye by learning what your camera is doing. That starts with the big three exposure controls:
- ISO (how sensitive your camera is to light)
- Aperture (how wide the lens opening is, which affects light and depth of field)
- Shutter speed (how long the sensor is exposed, which also controls motion blur)
What I like about teaching these as an interplay is that it turns random trial-and-error into choices. Instead of guessing, you learn what to adjust when the light changes, when the subject moves, or when you want a certain look, like sharper details or a softer, slower feel.
You also cover shooting modes and focusing. That matters because the nicest-looking exposure means nothing if your focus is off. The workshop uses “in the field” tutorials, so you learn the theory and then immediately test it on London scenes in front of you.
And here’s the part that often gets missed in self-teaching: you also learn the thought process of creating photos. That means composition and story ideas come into the lesson, not as an afterthought.
Stop 1, London Eye: Turning a Postcard View Into a Photo You Control
The day starts at the London Eye. It’s an obvious choice, but that’s the point. You get a high-visibility subject that makes exposure and composition feel less abstract.
At this stage, you’re usually learning to get consistent results fast. In a workshop like this, the win is not just taking a single good shot. It’s practicing how to look first, then adjust settings, then reframe.
Expect emphasis on:
- Getting the exposure right before you chase aesthetics
- Using focusing deliberately
- Not letting the scene move on you while you fiddle with settings
There’s also something practical about starting here. If you’re new, London Eye light can be forgiving. If you’re more advanced, it’s a way to practice precision before the lighting gets tricky later.
Leake Street Arches: Graffiti Lighting and Finding Composition Under Pressure
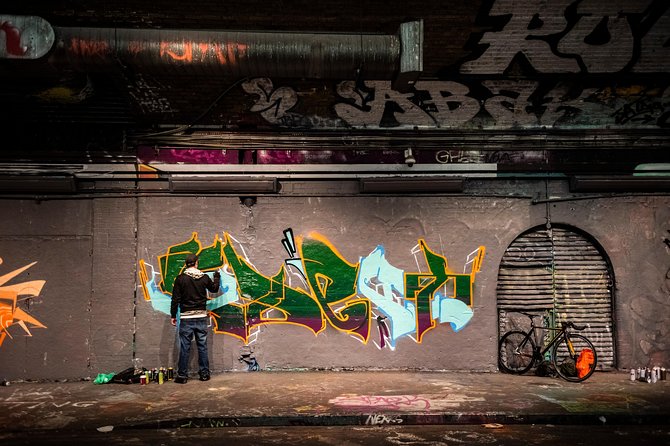
Next up are the Leake Street Arches, a graffiti tunnel area that gives you texture, bold lines, and a lighting situation that can change from frame to frame.
This stop is where the workshop logic starts to shine. In a tunnel, your camera has to deal with uneven light, dark corners, and brighter patches. That’s exactly where ISO and shutter speed choices show up fast.
You’ll be practicing:
- How exposure changes when the light drops quickly
- How to think about contrast, not just brightness
- How to place your subject so the image reads, even when it’s busy
If you want photos that look like you “found” something cool, this is where you learn the mechanics behind that feeling. It’s less about luck and more about seeing angles, using the tunnel shape, and controlling what sharp and soft.
A possible drawback here, if you’re very new: you might feel like there’s a lot to look at. But that’s also why the small group matters. You can ask for help with what to focus on first, instead of drowning in options.
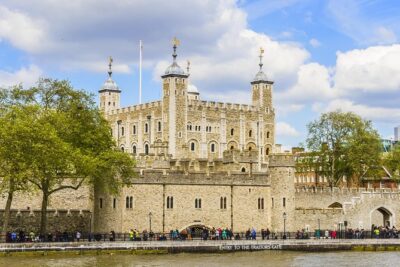
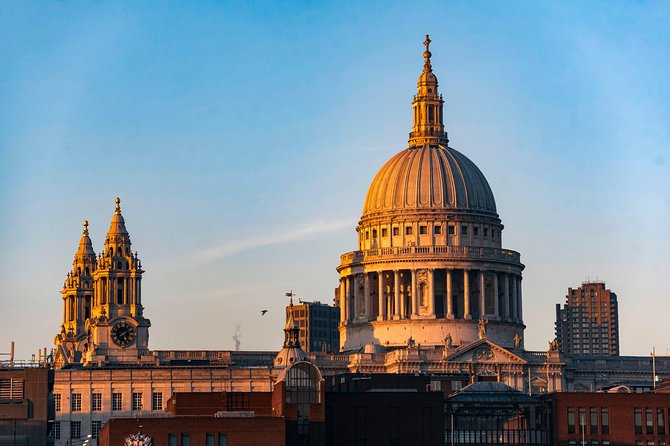
St. Paul’s Cathedral: Exposure, Focus, and Storytelling in One Frame
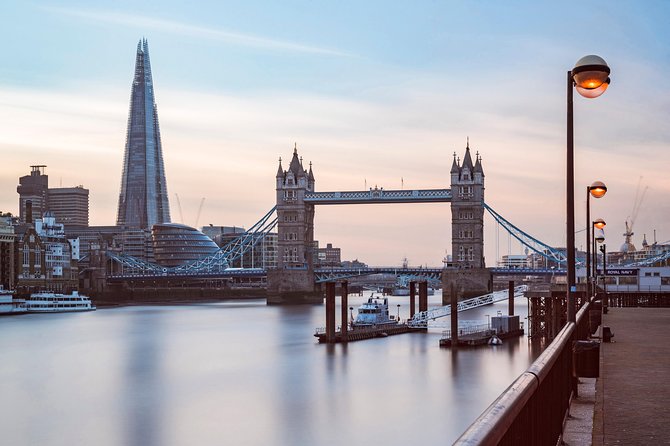
Then you move to St. Paul’s Cathedral. This is a classic Central London landmark, but the workshop treats it as a practice scene rather than a checklist.
The value is in learning how to translate “I want a great view” into setting choices. Big landmarks bring big contrast. You’ll need to decide what matters most in the frame, then tune your camera to match.
You should expect the workshop to push you toward a more active approach:
- Decide on a composition first (where your eye goes)
- Choose settings that support that plan
- Use focusing so key elements stay crisp
This is also a good stop for learning the workshop’s storytelling angle. Instead of only photographing the building, you’ll be thinking about mood, lines, and the sense of place. The guide time spent on thought process is a big reason people come away with more confidence, not just more images.
South Bank Skate Park: Fast Motion and the Creative Power of Slow Shutters
One of the most distinctive parts of this workshop is that it doesn’t keep everything slow. You’ll photograph the South Bank skate park, and it’s built for teaching contrast in style: dynamic shots now, then slower images as night approaches.
This is where shutter speed becomes more than a setting. It’s how you create movement.
Expect practice with:
- Capturing action with enough sharpness to make the subject readable
- Experimenting with slow shutter speeds to create motion blur when it suits the image
- Making choices that fit your story, not only the technical setting
If you’ve ever shot something moving and thought, why is everything blurry, this is the exact kind of scene that forces clarity. The workshop gives you a way to understand motion blur as an effect, not just a problem.
It’s also a fun stop. Skate park scenes are energetic, and you’re learning while you’re enjoying the vibe, which makes the lesson stick.
Sunset, Blue Hour, and Night Over the Thames: Finishing With Images That Feel Cinematic
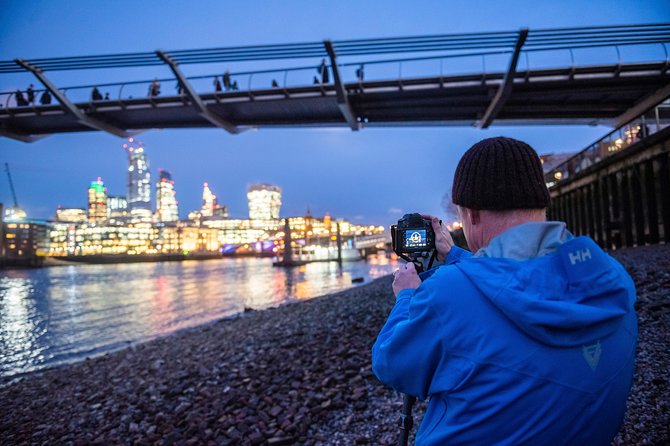
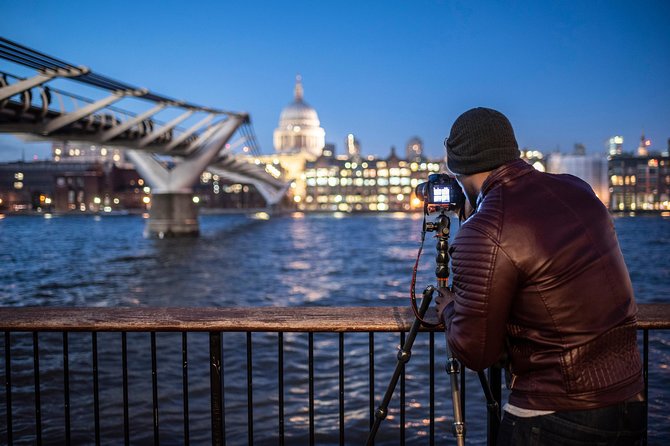
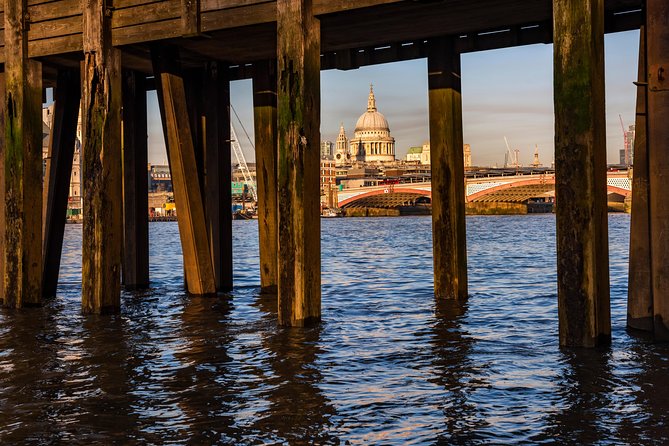
The workshop ends with a riverside shoot meant to carry you through the shift in light: sunset, blue hour, and a night shoot overlooking the Thames.
This timing is not random. Blue hour is the sweet spot when the sky still has color but the city lights start to show up. That blend is exactly what makes exposure decisions matter more. If you only learn daytime settings, you’ll feel lost at dusk. Here, the day transitions into the conditions you actually want to photograph.
You’ll be practicing slower and darker conditions with the concepts you learned earlier:
- How ISO changes when light drops
- How shutter speed helps capture night atmosphere and movement
- How aperture and focus choices affect depth and sharpness
The goal is that you return home with a variety of images, not one lucky hero shot. And from what people say about Matthew’s teaching style, the wrap-up is where the confidence really clicks, because you see how your choices control the final look.
One practical note: since this depends on good weather, cloud cover and rain can change results. If weather forces a different date, that’s not a technical issue, it’s the natural reality of outdoor night photography.
What Makes the Instruction Work: Camera Confidence and a Practical Note-Taking Style
A lot of beginner courses stop at settings. This one tries to go further by building your decision-making process. You spend real time on how to create, not just take photos.
That shows up in how people describe the teaching:
- Matthew is patient and communicates technical basics clearly
- The instruction is gentle, not lecture heavy
- The session supports mixed levels, so you don’t feel left behind
- You leave with a notebook of tips and setting guidance for future shooting
Even if you’re joining with a phone camera instead of a DSLR or mirrorless, the mindset still applies. One person described learning how to use their phone camera more effectively, which is a good sign that the guidance focuses on how you shoot, not just which camera you own.
If you’ve been frustrated by ISO, f/stops, and shutter speeds, this workshop is designed to untangle them with practice, not memory work.
Price and Value: What $232.25 Buys You in Real Coaching Time
At $232.25 per person for about 5.5 hours, you’re paying for more than walking around London with a camera. You’re paying for a pro guide and a format that keeps the group small, so the teaching time is real.
Here’s where the value comes from:
- Time on location: you learn in the scenes you want to photograph
- Hands-on repetition: you shoot, adjust, and shoot again
- Direct feedback: small groups mean you aren’t guessing alone
- Day-to-night range: you practice the same concepts across changing light
Could you learn from videos for free? Sure. But if your problem is that settings feel baffling and you want to stop guessing, a guided workshop saves you weeks of confusion. You also get composition and thought process coaching, which is harder to learn from screens.
If you’re already comfortable in manual mode, you’ll still likely benefit from the structured practice and the night/blue-hour focus. If you’re brand new, the course is built to start from fundamentals and build up without making you feel foolish for not knowing.
Getting the Most Out of the Day: Simple Prep That Helps
To make your day smoother, I’d focus on two prep habits before you show up.
First, know what you can. If you brought a DSLR or mirrorless, identify where your ISO, shutter speed, and aperture controls live. If you’re using a phone, be ready to experiment with whatever control level your app allows. Either way, the workshop works best when you can adjust quickly while you’re shooting.
Second, bring your camera accessories if you normally use them. The tour description doesn’t specify gear, so I’d stick with what you already trust for stable shots and night conditions.
Once you’re there, your best strategy is simple:
- Shoot early, then ask questions
- Don’t chase perfection on frame one
- Let the guide help you pick what to improve next
Who This Workshop Fits Best, and Who Might Want Another Option
This course is a strong match if:
- You want an introduction to photography fundamentals using real London locations
- You care about learning ISO, aperture, and shutter speed as a system
- You want to practice fast motion at the skate park and slower looks as it gets dark
- You like the idea of learning both technique and composition/story thinking
It’s also suitable for a range of skill levels because the guide manages different stages of understanding. If you’re comfortable with manual already, you may still like the creative slow-shutter experiments and the night finishing segment.
The main reasons you might hesitate:
- If you struggle with any walking, the route involves moving through Central London, and you should have a moderate physical fitness level.
- If you hate weather dependence, this workshop requires good weather and shifts if conditions are poor.
Should You Book This Central London Photography Intro?
Book it if you want fast progress with a small group and a clear structure that goes from basics to night images. The combination of camera fundamentals, composition thinking, and real locations like the London Eye, Leake Street Arches, St. Paul’s, and South Bank skate park makes it a practical use of time.
Skip it, or consider a different approach, if you only want casual sightseeing and no pressure to learn settings. This is instruction focused, and the workshop is built around practicing with intention. If that sounds like your style, you’ll likely leave with photos you can explain, and settings you can repeat on your own.
FAQ
What is the duration of the Central London photography workshop?
The workshop runs for about 5 hours 30 minutes.
How big is the group?
The maximum group size is 8 travelers.
Where do you meet, and where does the tour end?
You start at Starbucks Coffee, Belvedere Rd, London SE1 7GQ, UK, and the activity ends back at the meeting point.
Is the workshop offered in English?
Yes, it is offered in English.
What camera skills does the workshop cover?
You’ll learn the basics of ISO, aperture, shutter speeds, shooting modes, and focusing, and you’ll also practice slow shutter speeds and ideas for photographic storytelling and composition.
Do you need good weather for this experience?
Yes, the experience requires good weather. If it’s canceled due to poor weather, you’ll be offered a different date or a full refund.
More Photo Walks And Shoots
Fresh off the notebook in London
- Private Rock ‘n’ Roll Music Tour of Central London
★ 5.0 · 7 reviews - London Walking Tour: Camden Town Photography Walkabout
★ 5.0 · 7 reviews - Private Transfer from London accommodation to Cruise terminal
★ 5.0 · 7 reviews - Amazing Nightlife in London East Tour
★ 4.5 · 7 reviews - The British Museum: a highlights tour with a TV historian
★ 5.0 · 7 reviews - Heathrow Airport to Cambridge private taxi transfers
★ 5.0 · 7 reviews
Photography Sessions, compared.
 ★ 5.0Professional Photoshoot in London PhotographerFrom $305102 reviews
 ★ 5.0Private landmarks photoshoot for families and couplesFrom $16692 reviews
 ★ 5.0Professional Private Photoshoot in LondonFrom $10963 reviews
 ★ 4.530 Major London Attractions Walking Tour With PhotosFrom $6751 reviews
 ★ 5.0Private Tour: Night Photography Tour in LondonFrom $33748 reviews
 ★ 5.0Professional Private Couple PhotoshootFrom $15735 reviews
 ★ 5.0London: Private Landmarks with a Professional PhotographerFrom $17930 reviews
 ★ 5.0Private Night Photography Tour in LondonFrom $16429 reviews
Browse the lists this tour appears in