
REVIEW · HISTORICAL TOURS
Iconic London Landmark Photography City Tour
London photo ops feel easier when you have a plan. This private walk is built around iconic shots, plus real camera coaching for your exact gear. You’ll move from Westminster to the Thames viewpoints, then finish with classic city angles near Tower Bridge.
What I like most is the private, undivided attention and the fact that the guide adapts instruction whether you shoot a DSLR or a smartphone. Second, you get a photography e-guidebook to keep learning after the tour, not just a quick sightseeing loop.
One thing to consider: it’s a 3.5 hour on-foot outing and you’ll need a moderate fitness level for London pavement and steady walking between landmarks.
In This Review
- Key things to look for in this photography tour
- Private London photography coaching that beats aimless sightseeing
- Price and value: what $403.77 buys you here
- Where you meet and how the 3.5 hours actually works on foot
- Stop 1, Big Ben from Westminster: start with sharp, iconic framing
- Stop 2, London Eye along the Thames: compose, then refine
- Stop 3, Millennium Bridge: turning a classic footbridge into a composition lesson
- St Paul’s Cathedral photo corners: skyline views with less obvious angles
- Stop 4, Tower Bridge angles and final shooting time
- What the guide teaches: settings, composition, and real-world camera habits
- Coffee or tea at the end, plus what to do with your e-guidebook
- Who this tour fits best, and who might skip it
- Should you book this London Landmark Photography City Tour?
- FAQ
- How long is the Iconic London Landmark Photography City Tour?
- What does the tour cost?
- Where do I meet the guide?
- Is this tour private?
- What landmarks are included on the route?
- Is there admission cost for the stops?
- What’s included in the price?
- Is transport included?
- Do I need special camera equipment?
- What is the cancellation policy?
Key things to look for in this photography tour
- Private coaching that aims at your camera settings, not generic tips
- DSLR and smartphone support, with practical hints for both
- Iconic Thames-side stops, timed so you actually have time to shoot
- St Paul’s photo corners, chosen so you find angles you might miss
- Coffee or tea at the end, a simple, nice reset after walking
- An electronic guidebook so you can review and practice later
More history led walks worth the hour
- London Small Group Tour of Historical Pubs★ 5.0 · 10,422 reviews
- Soho Music & Historic Pubs Tour★ 5.0 · 1,993 reviews
- Royal Historic Pubs Walking Guided Tour in London★ 5.0 · 803 reviews
- Private Group: Historical Pub Walking Tour of London★ 5.0 · 660 reviews
Private London photography coaching that beats aimless sightseeing
This tour is for you if you want better London photos without relying on luck. The guide is there to help you turn famous landmarks into repeatable compositions, which is different from just being shown where to stand.
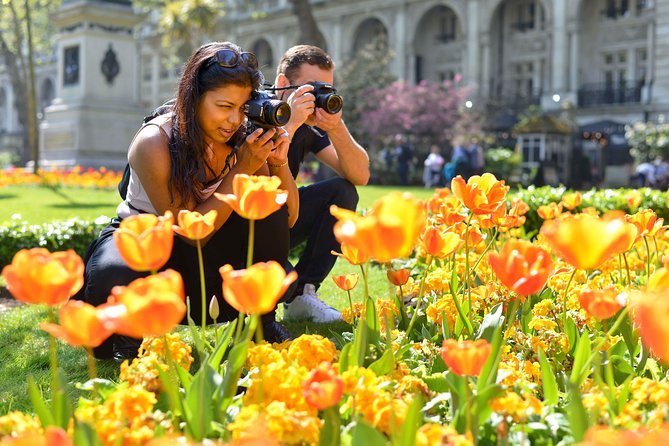
Because it’s private, you’re not competing with a big group for positioning. That means you can ask questions about your camera, spend longer at a spot when the light is right, and get correction in the moment. One participant credited the guide’s patience and hands-on advice as the reason it clicked.
If you care about photography more than ticking off names, this format makes sense. You’ll spend most of the time doing the thing you came for: shooting, adjusting, and learning what each setting changes in your image.
Price and value: what $403.77 buys you here
At about $403.77 per person, this isn’t a cheap “walk and snap” tour. But the cost makes more sense when you look at what’s included:
- Private instruction tailored to your equipment (DSLR or smartphone)
- Tour and group photos taken during the experience
- Photography e-guidebook to keep you improving after the walk
- Coffee or tea to refuel at the end
If you’ve ever taken a generic tour and then later realized you still don’t understand shutter speed, focusing, or basic composition, you know where this price is trying to help. You’re paying for focused time, not just entry to sights you can see for free from the street.
One caution on value: if you already know your camera settings well and you only want landmarks as backdrops, you might feel the price is more than you need. But if your photos are stuck in “auto mode” or you want cleaner, sharper results, the coaching can justify it quickly.
Where you meet and how the 3.5 hours actually works on foot
You’ll meet at Caffè Nero, Unit B, Portcullis House, 1-2 Bridge St, London SW1A 2JH. It’s about a 10-minute walk from London Bridge Underground Station, so you can line up your tube route without stress.
The experience runs about 3 hours 30 minutes and it’s a private activity, meaning only your group participates. The tour uses a mobile ticket, which is convenient on a day when you’re juggling camera batteries, water, and maybe a rain jacket.
Transport fares are not included, so plan to get yourself to the start and back on your own. Also, the tour requests a moderate physical fitness level, so wear shoes you’re happy to walk in for hours.
Stop 1, Big Ben from Westminster: start with sharp, iconic framing
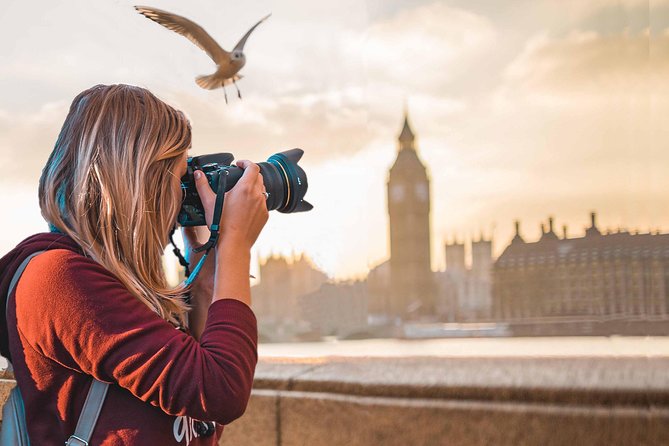
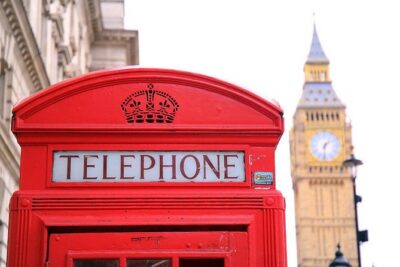
The tour begins near Westminster Station, opposite Big Ben, one of London’s most recognizable landmarks. This first stop is short, around 10 minutes, so it’s meant for momentum, not lingering.
What you should aim to learn here is not just getting the landmark in the frame. It’s learning how to work with lines and perspective. Big Ben sits in a space filled with straight edges, stone textures, and crowds of visual noise. A good photo comes from choosing one or two dominant elements and controlling distractions.
Practical tip: when the group is moving quickly, set your composition first, then adjust camera settings. Don’t spend the entire minute searching for the perfect angle if your exposure and focus are still on auto. Even small changes, like locking focus or adjusting exposure compensation, can help you avoid washed-out results against sky brightness.
More city runs, half day and full


Stop 2, London Eye along the Thames: compose, then refine
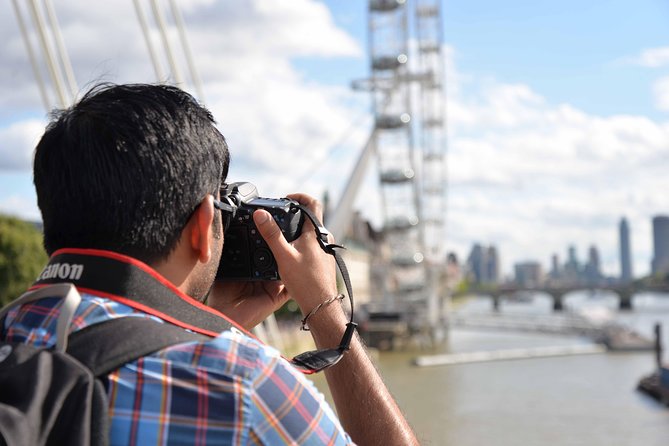
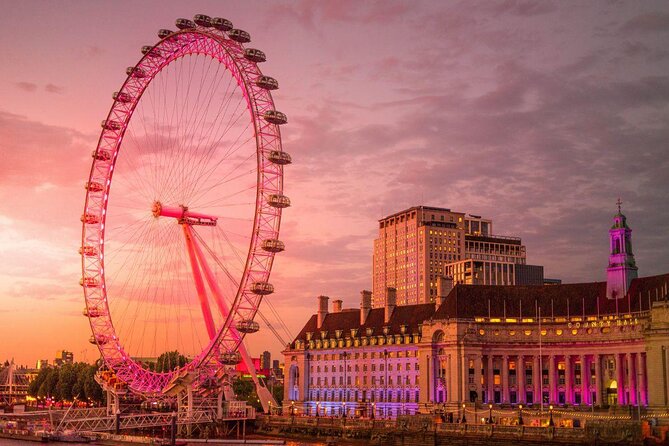
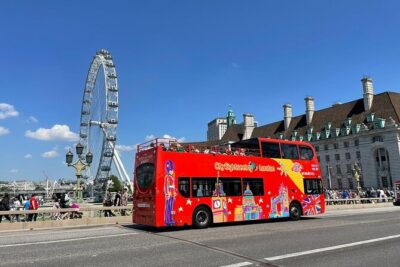
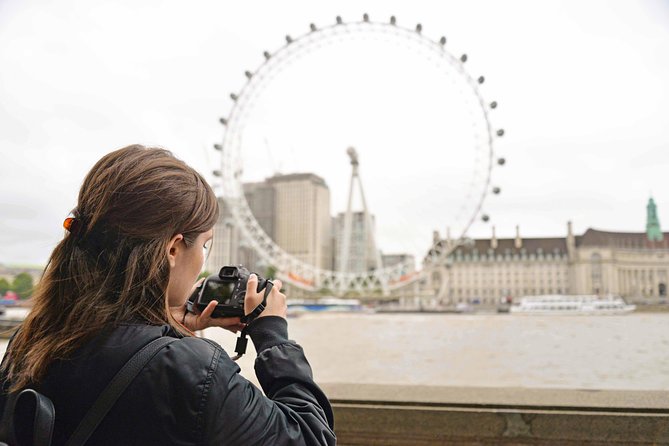
Next you walk past the London Eye, Europe’s tallest cantilevered observation wheel, and a major tourist magnet. This stop is about 20 minutes, which gives you time to shoot from more than one position and actually compare results.
The London Eye is ideal for learning because it blends structure, motion cues, and reflections from the Thames area. If you’re using a DSLR, think about how shutter speed affects the look of light and any movement. If you’re using a smartphone, focus on getting exposure right so the bright wheel doesn’t blow out while the river stays readable.
One of the best things about an instruction-based stop is that the guide can correct your approach. A past participant said the tour focused more on professional cameras, but people with phones still got helpful hints. So if you shoot with a smartphone, you’re not stuck just “hoping it turns out.”
Stop 3, Millennium Bridge: turning a classic footbridge into a composition lesson
From the London Eye area, you head to Millennium Bridge, highlighted as London’s most iconic footbridge with views toward the City of London and the Thames. This stop also runs about 20 minutes.
Footbridges are great for photography coaching because they create strong leading lines. The bridge helps you practice how to guide the viewer’s eye across the image. And because you’ll likely face both the river and the skyline, you can learn about balancing background brightness with your foreground.
Potential challenge: London can be windy, especially near the river, and that can make steady shots harder. Bring a way to stabilize if you have one, but even without gear, you can improve results by using a faster shutter speed for sharpness or bracing yourself before pressing the shutter.
St Paul’s Cathedral photo corners: skyline views with less obvious angles
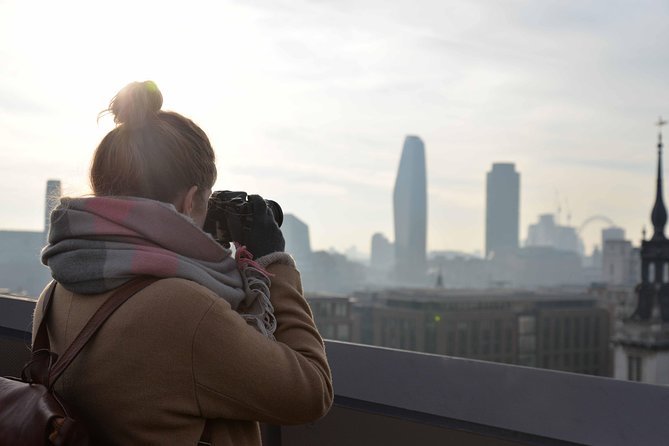
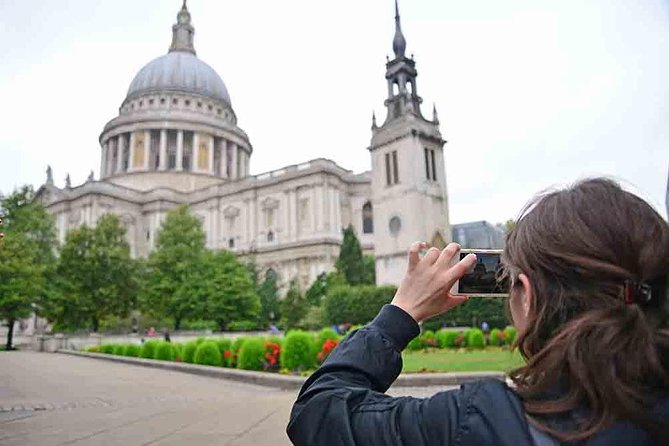
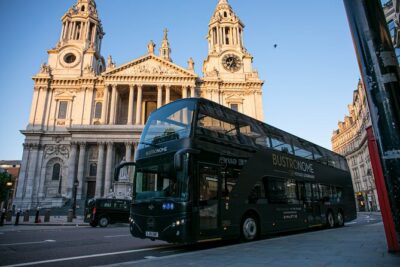
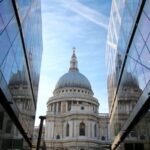
After the bridge, you head to St Paul’s Cathedral. The tour is designed to take you to two photo corners described as tucked-away and picturesque, with city skyline views. This is where the tour shifts from postcard angles to more intentional views.
St Paul’s is huge, and it can be easy to over-photograph it in the most obvious way. The value here is learning how to frame the cathedral with surrounding context, so your images feel like London, not just a single building snapshot.
If you’re new to your camera, this stop is a good moment to ask the guide about basic settings and what they should change for different lighting. One participant said they learned more in this 3 hour session than from a six month college photography course, and that suggests the guidance is practical enough to matter fast.
What to watch for: the skyline around St Paul’s can include bright windows and darker stone. Your guide can help you choose settings that keep the highlights from blowing out while the darker areas stay detailed.
Stop 4, Tower Bridge angles and final shooting time
The tour’s final landmark stop focuses on Tower Bridge, with about 30 minutes for shooting. Tower Bridge is famous, so you’ll have plenty of options for viewpoints, but this is exactly where coaching helps. Your guide can steer you toward angles that make the bridge look elegant rather than just crowded.
The itinerary also places the tour’s ending point at Tower Bridge Road, so plan to end your walk near that area. Since coffee or tea is included at the end, this is likely when you slow down, review your photos, and recharge.
Practical suggestion: take at least two passes at Tower Bridge. First pass, get your baseline shots with one composition you like. Second pass, experiment. Try a different focal length, adjust your exposure, or shift your height a little. When you do this with instruction, you start understanding what causes the difference, not just what looks good on screen.
What the guide teaches: settings, composition, and real-world camera habits
This tour is built around learning photography skills you can carry into your next day in London. The big promise is tailored coaching for your gear, and the reviews point to exactly that: people walked away knowing more about camera basics and advanced settings by the end.
If you’re shooting a DSLR, expect conversation around settings that affect sharpness, exposure, and how your images handle bright skies. If you’re shooting a smartphone, you should still get useful guidance, not vague encouragement.
One past participant described the tour as a solid lesson for getting familiar with their camera, including how it works and what it can do. Another said the guide David was patient, spent time with each person, and gave advice that fit where they were starting from.
That combination matters. Camera learning sticks when someone explains your next step in plain terms, then helps you apply it while you’re actively photographing.
Coffee or tea at the end, plus what to do with your e-guidebook
You’ll end with complimentary coffee or tea, which is more than a nice perk. After you’ve been standing, walking, shooting, and adjusting settings, a break helps you actually look at what you captured.
You also get an electronic guidebook, meant to help you keep learning after the tour. Even if you don’t read it cover to cover, use it like a reference. When you spot something you want to improve, such as exposure consistency or framing choices, you can revisit the relevant parts and practice on your own.
And yes, you’ll also receive tour and group photos. Those can help you remember the walk and compare your own results with what was captured during the process.
Who this tour fits best, and who might skip it
This is a strong fit if:
- You want to improve photo results quickly, not just gather landmarks
- You enjoy one-on-one coaching where questions are welcome
- You have a DSLR or smartphone and want instruction that matches your equipment
- You’d like the structure of planned stops plus time built in for shooting
You might skip it if:
- You already know your camera settings and composition well
- You just want quick sightseeing landmarks with no learning goal
- Your schedule can’t handle a 3.5 hour walk with moderate fitness demands
The sweet spot is someone who wants to go beyond tourist snapshots and learn how to take better photos on demand.
Should you book this London Landmark Photography City Tour?
If you want iconic London photos, the sights are obvious. The difference here is the focus on photography coaching and learning that actually helps you take better pictures after you leave.
I’d book it if your photos feel inconsistent, you want help understanding settings, or you want your shots to look more intentional at Big Ben, the London Eye, Millennium Bridge, St Paul’s, and Tower Bridge. The included e-guidebook and end-of-tour coffee or tea also make the experience feel like more than a short walk.
I’d think twice only if you already master your gear, because then the main value becomes the route and the time spent shooting at each stop, not the instruction.
If you want, tell me what camera or phone model you’re bringing and what kind of photos you like (night shots, skyline, portraits, river reflections). I can suggest a smart game plan for what to focus on during each stop.
FAQ
How long is the Iconic London Landmark Photography City Tour?
The tour lasts about 3 hours 30 minutes.
What does the tour cost?
It costs $403.77 per person.
Where do I meet the guide?
You meet at Caffè Nero, Unit B, Portcullis House, 1-2 Bridge St, London SW1A 2JH. The end is in the Tower Bridge Road area.
Is this tour private?
Yes. It’s a private tour, so only your group participates.
What landmarks are included on the route?
You’ll photograph Big Ben, London Eye, Millennium Bridge, St Paul’s Cathedral, and Tower Bridge.
Is there admission cost for the stops?
The listed stops show admission ticket free, which fits a photo-focused walk from public viewpoints.
What’s included in the price?
The tour includes a photography e-guidebook, tour and group photos, and coffee and/or tea.
Is transport included?
No. Transport fares like subway, bus, or taxi are not included.
Do I need special camera equipment?
No. The coaching is tailored to your needs and equipment, whether you use a DSLR or a smartphone.
What is the cancellation policy?
Free cancellation is available. You can cancel up to 24 hours in advance for a full refund. If you cancel less than 24 hours before the start time, the amount paid is not refunded.
More Photo Walks And Shoots
More City Runs In London


More History Led Walks


Fresh off the notebook in London
- Witchcraft, Ancient Cults & MI15 Spy Secrets
★ 4.0 · 3 reviews - Arrival Transfer: London Train Stations to London Hotels
★ 5.0 · 3 reviews - Royal Afternoon Tea & Walk at Kensington Palace
★ 4.5 · 3 reviews - Bridgerton Tour in London
★ 5.0 · 3 reviews - Private Transfer from central London to Southampton Cruise Terminal
★ 5.0 · 3 reviews - Photographer, Professional Photo Shoot – London
★ 5.0 · 3 reviews
Historical Tours, compared.
 ★ 5.0London Small Group Tour of Historical PubsFrom $4010,422 reviews
 ★ 5.0Soho Music & Historic Pubs TourFrom $441,993 reviews
 ★ 5.0Shadows of York: Ghost Walk and Horrible History.From $181,403 reviews
 ★ 5.0Private Historical Walking Tour of YorkFrom $1951,324 reviews
 ★ 5.0A Walk Through Time: History of Liverpool Walking TourFrom $27911 reviews
 ★ 5.0Royal Historic Pubs Walking Guided Tour in LondonFrom $44803 reviews
 ★ 5.0Private Group: Historical Pub Walking Tour of LondonFrom $173660 reviews
 ★ 5.0Best Of Liverpool Heritage, History & Culture Guided Walking TourFrom $31539 reviews
Browse the lists this tour appears in